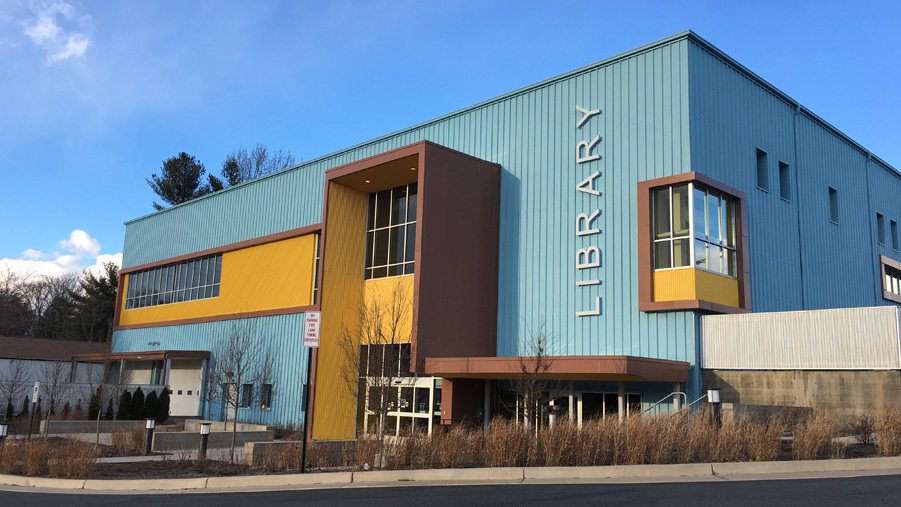
Several years ago, the idea of printing objects seemed extraordinary. Now, it's more mainstream and available to the public, particularly through libraries. Curious to experience 3D printing firsthand, Ivy Group programmer Landon Dorrier popped over to a local Charlottesville library to get hands-on experience.
Have Library Card, Will 3D Print
Once I arrived at the library, I went to the help desk to ask if I could use the 3D printer. The librarians politely explained that in order to use the printer, I first had to sign up for a library card and sign a usage agreement for the Makerspace Studio. I was also told that the 3D printer needed to be reserved in advance, so after I signed the forms I reserved an available time slot for the following week.
I was pleasantly surprised to learn that finding available time slots is not difficult (the library allows a max of 2 reservations per month) and using the 3D printer is 100% free.
The patrons who use Northside’s 3D printer are a diverse crew: complete newbies, veteran CAD users, entrepreneurs, makers, artists, children, older adults, and families.
JMRL staff member
Designing the 3D Model
My Ivy Group coworkers and I thought it would be cool to print our logo's leaf icon--yes, we are logo nerds! So I turned to tinkercad.com, a simple online 3D design app, to build the model. I also downloaded a free trial of AutoCAD, an advanced 2D and 3D design software, thinking it would be interesting to learn how to create more advanced 3D models.
After fiddling around for half an hour, I realized that building the model was a little over my head. I could benefit from some outside help. We called in a favor from our friend Brian Williams, a graduate of UVA’s School of Architecture. Brian came through, delivering a crisp .STL file of the Ivy Group's logo, which I saved to a flash drive and then took to the library.
The 3D Printing Process
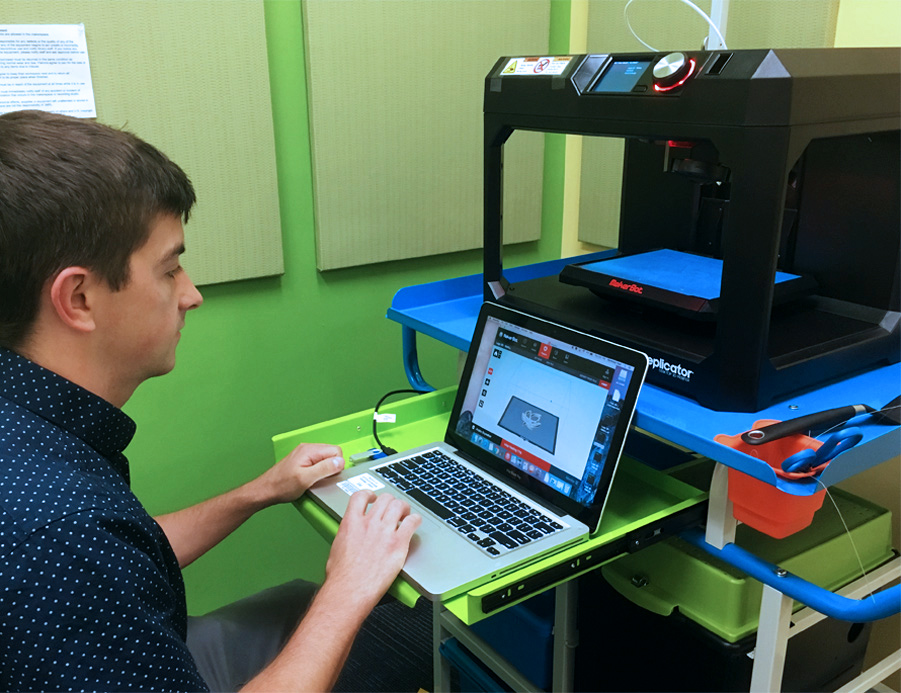
Setup
The staff at the library brought me into the 3D printing room and showed me how to set up the print job. A laptop running MakerBot software was connected to the MakerBot printer. It was easy to use. I only had to drag and drop my .STL file from the flash drive on to the screen. Then, confirm the desired print size and resolution. There was also an option to change the color of the plastic, but the library only had grey loaded into the machine that day.
Waiting
When I confirmed the specs, the computer estimated the print time. I was a little shocked to see that printing Ivy Group's logo would take close to 4 hours. (It’s only about an inch tall by 4 inches long). I had no idea that it would take so long, and I needed to get back to work! Then the library staff member assisting me told me that if I dropped the resolution quality, it would speed up the print duration.
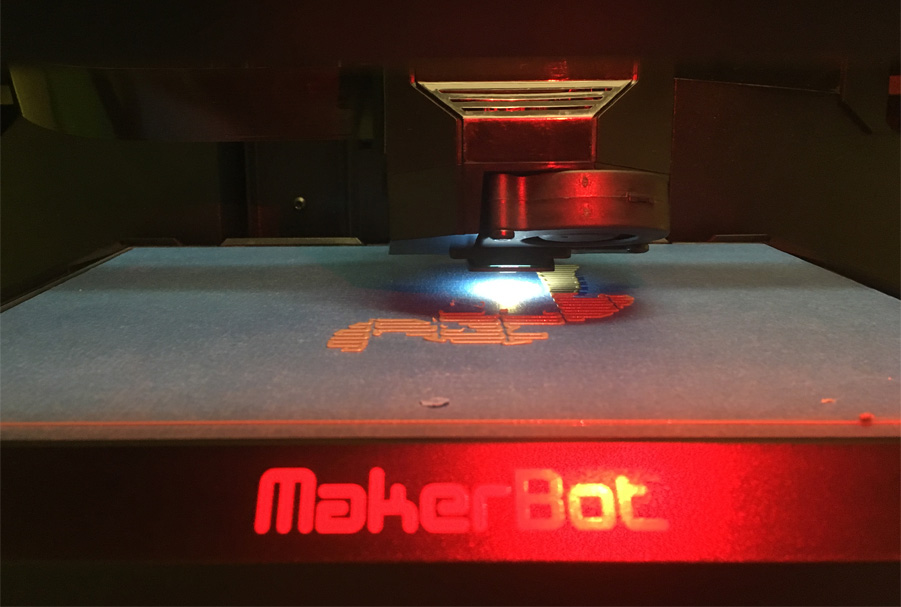
After lowering the resolution, my new estimate was 2 hours—a much more manageable amount of time. I initiated the print job and took a seat to watch how it worked. With quick and precise movements, the MakerBot began to lay down the base of the logo. It was very grid-like in the design, similar to the light cycles in the movie Tron.
Some of the coolest things people have printed: ergonomic handles for crutches, cases for a homemade insulin monitor, a topographical map made from GIS data, and a miniature train.
JMRL staff member
As interesting as it was to watch the MakerBot in action for the first time, I just couldn't sit there for the whole 2 hours. So, I decided I would check on it periodically while I did some other work from the library's computer lab.
After about 2 hours, the MakerBot finished printing just as it had estimated. A library staff member came in and peeled the leaf off the surface and handed it to me. She noted this print had turned out very well!
Behind the scenes, a 3D printer is a lot of work: maintenance, troubleshooting, software snarls, and managing patron expectations. However, we’ve found that our 3D printer is worth the trouble.
JMRL staff member
Inspection
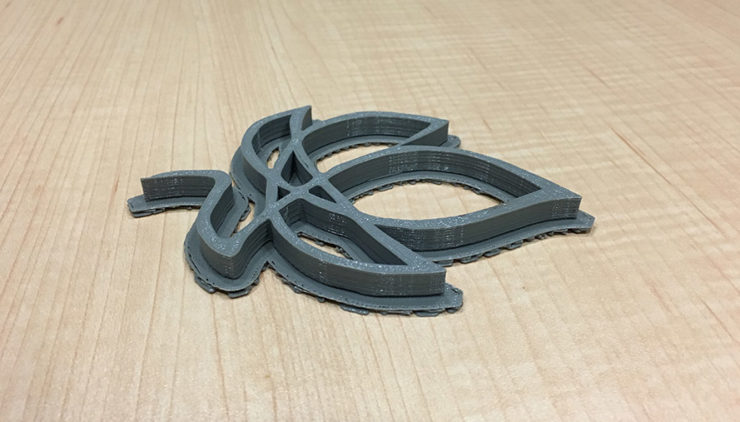
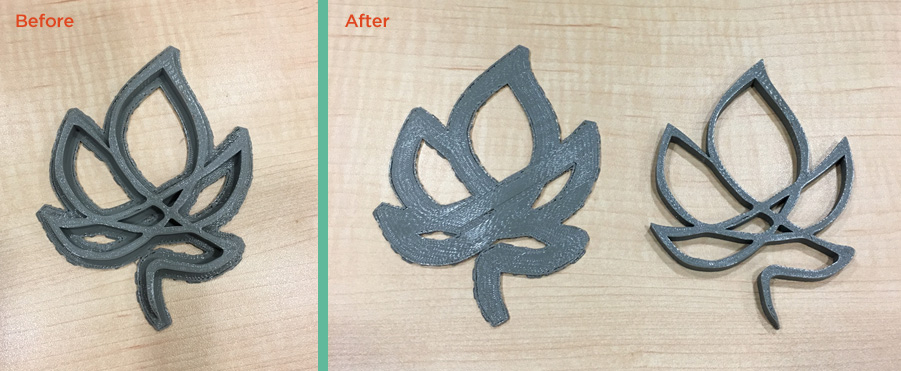
I was initially disappointed with the print because there was a thin and low-resolution base on the bottom of the leaf. Then I realized that piece could be peeled off, which I did carefully as you can see in the image below.
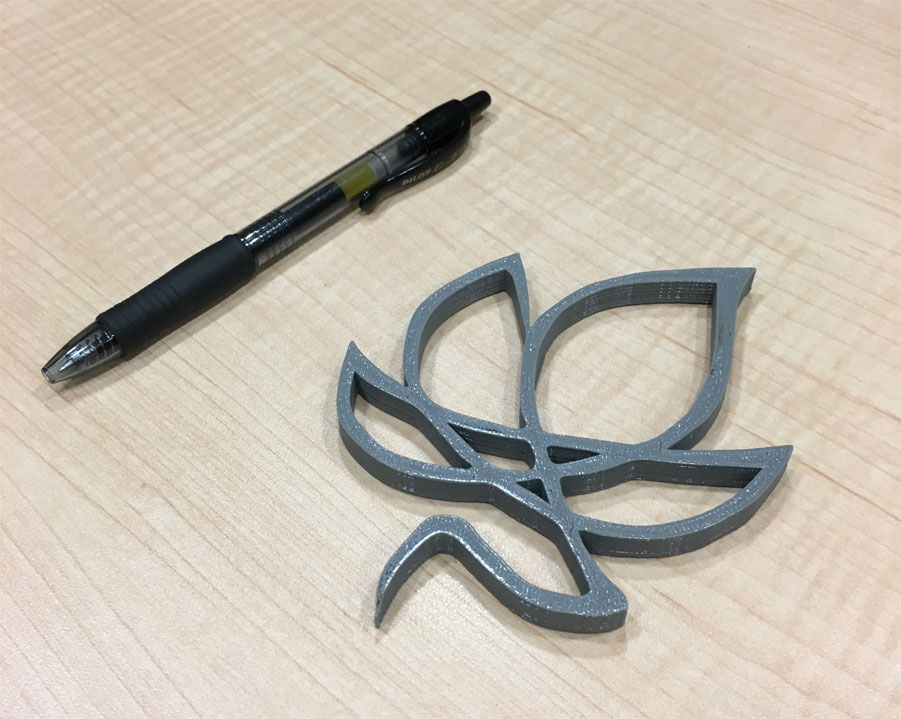
The Final Product
As you can see, the final product turned out great! Our leaf is very sturdy and holds together nicely. Even though this was printed on the "low" resolution, the layers of plastic on the leaf are very tightly put together and smooth. I'll admit before printing this leaf, I imagined all 3D printed objects as being perfectly smooth and singular pieces of plastic. I didn't realize they were composed of many thin layers of hot liquid plastic dropped on top of each other.
The 3D printer is an impressive piece of technology. However, I can see that more time must pass until mass producing objects via the 3D printer will be efficient. The printing process needs to speed up a bit. In the meantime, I'd encourage anyone to check their local library for a 3D printer and get creative. Especially if it's free!
Check out thingiverse.com for inspiration and free 3D models you can download and take to the printer.
Category: Libraries, Web & Technology
Tags: design, libraries, technology